SDKMan - Installing Multiple Versions of Java in Same Machine
In today’s world technology is evolving at a very high pace, everyday something new comes in the market. Same is the case with computer languages, new languages are coming day by day and even newer versions of old languages are being released.
For example, we have many versions of Java like Java 7, Java 8, Java 11 and many more.
Now let’s suppose you’re currently working on a project in Java 8 but you want to use the new features which are provided by Java 11 on the same machine or make a new project by using some other version of Java.
But if you install any other version in the same machine it will replace the current version of Java and might crash the project that you were working on, as it was based on a different version of Java.
So you need a tool by which you can install multiple versions of Java in the same machine and manually switch between them according to your needs.
The SDKMan tool can be used to tackle this problem.
SDKMan
- It is a software development kit manager tool which is used to manage multiple versions of the same software in a single machine.
- It is written in bash and prerequisites for this tool is the presence of curl and zip/unzip in the system.
- It is an open-source tool.
- It runs on UNIX based platforms.
Installing SDKMan
Just copy-paste the below lines in the terminal to install SDKMan in your system.
$ curl -s "https://get.sdkman.io" | bash
$ source "$HOME/.sdkman/bin/sdkman-init.sh"
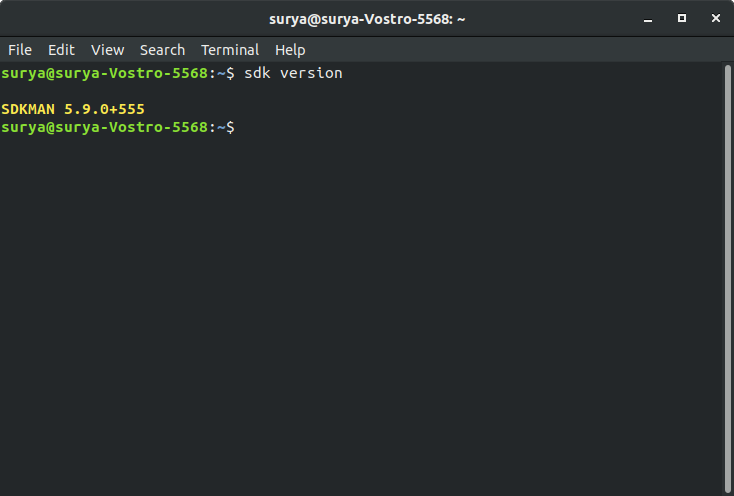
To verify if SDKMan is installed in the system or not, run the following command.
$ sdk versionThis will give the version of SDKMan which is currently installed in the system.
Installing Multiple Versions of Java
To see all the java versions which are available for installation use the following command
$ sdk list java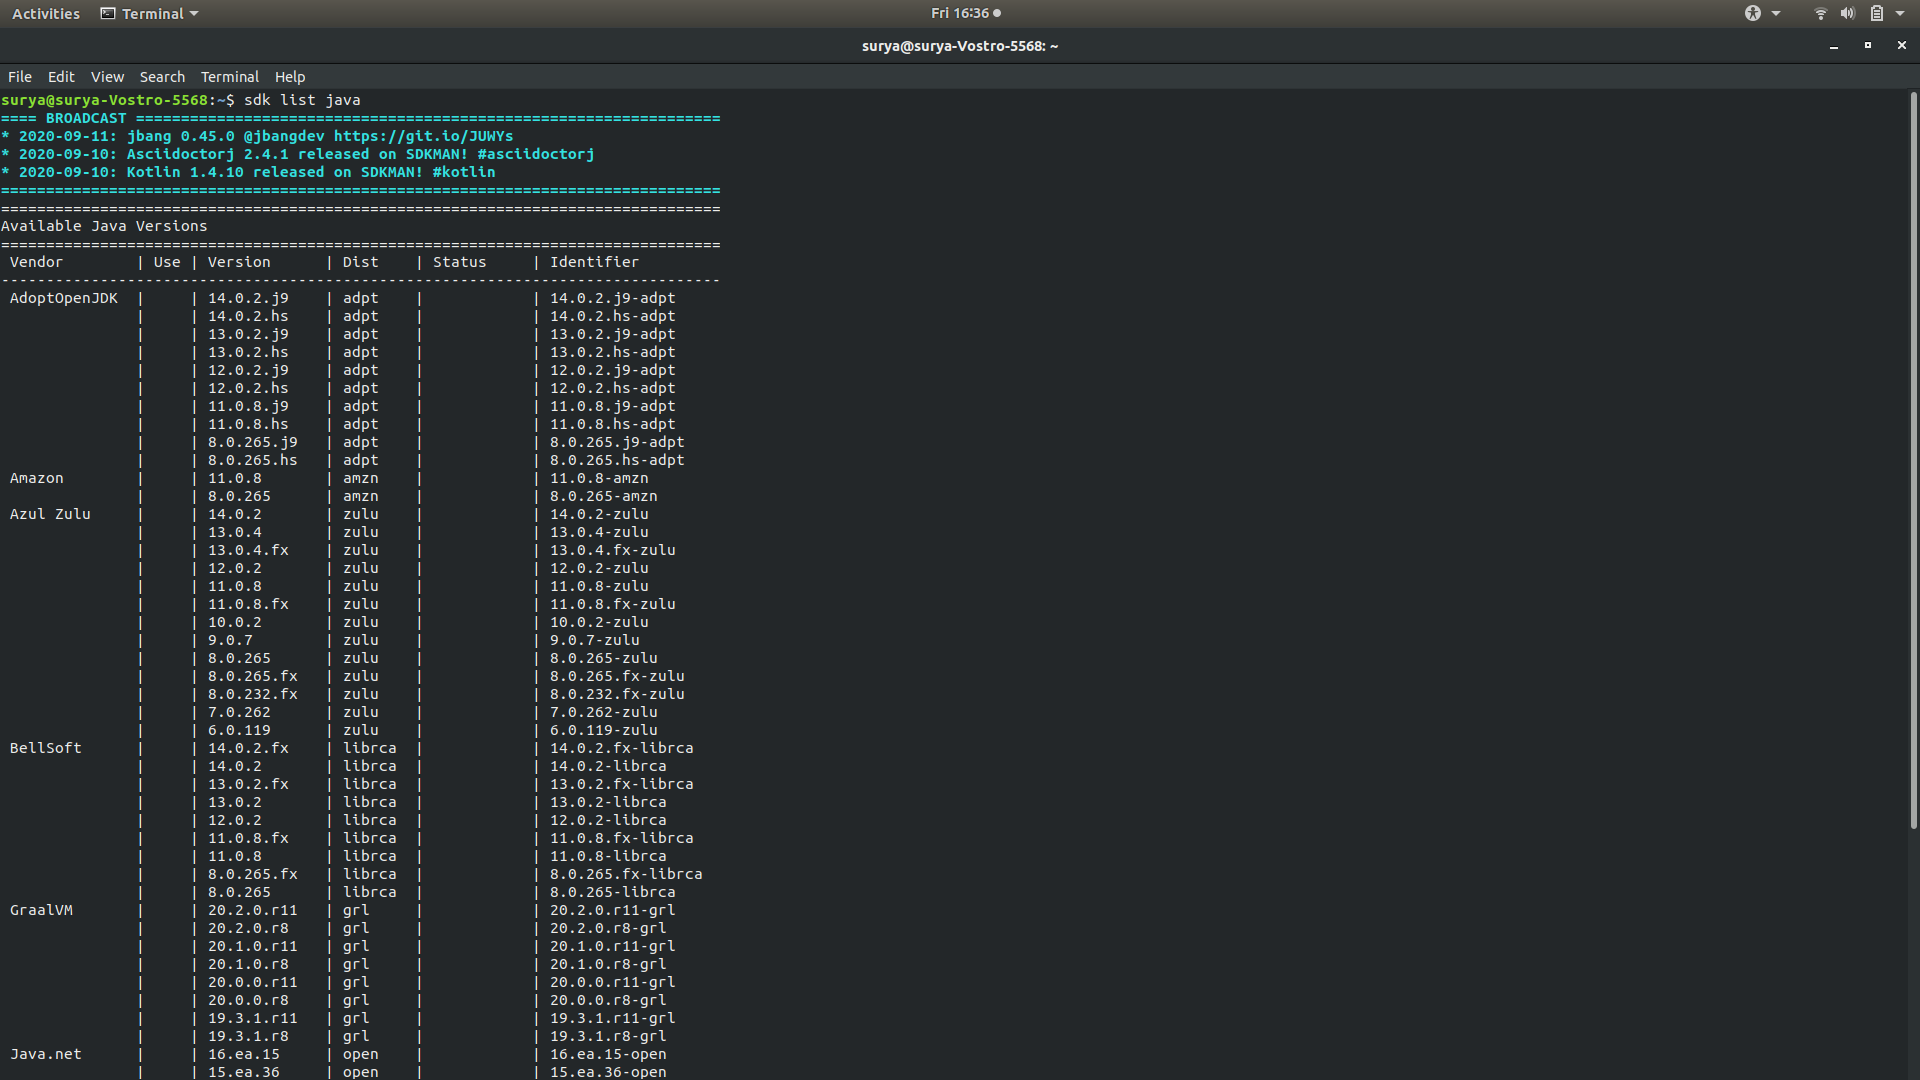
As an example let’s install Java 9, run the following command
$ sdk install java 9.0.4-openTo check whether Java 9 is successfully installed in the system or not run the following command
$ java -version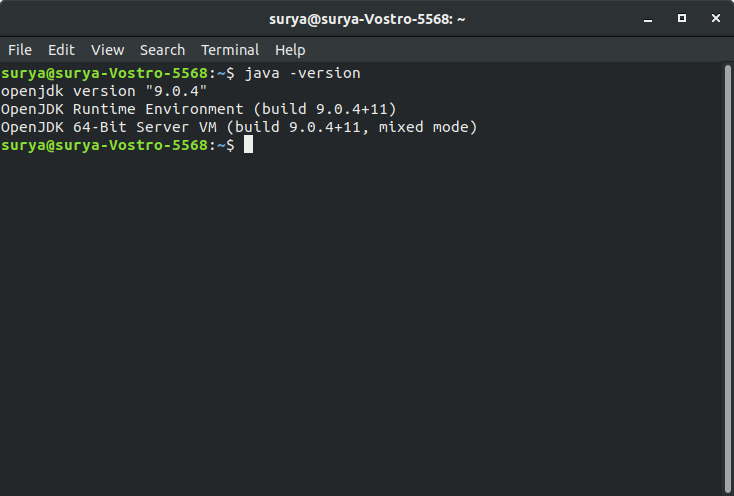
Now install another version of Java, say Java 10. To install it run the following command
$ sdk install java 10.0.2-open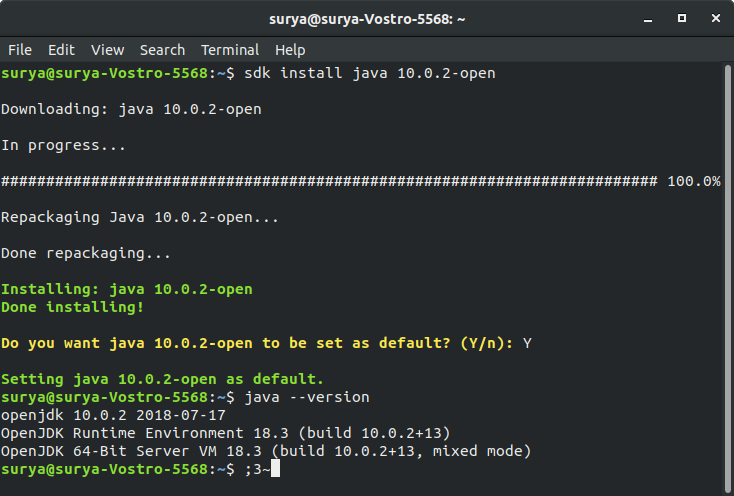 If any other version of java is already present in the system, then it will ask whether it should make the current version the default, if you press Y then it will make the current version as the default version.
Now to check which all Java versions are installed, just use the command sdk list java again.
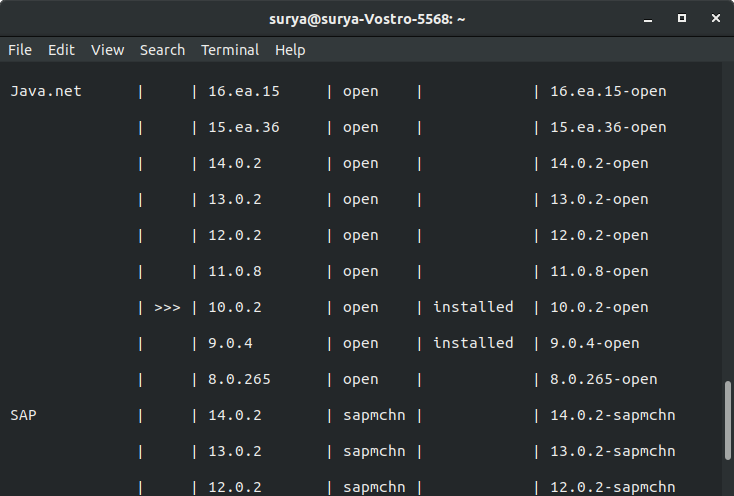 As it is visible, two versions of Java are installed and currently the default version in the system is
 10.0.2 which is represented by >>>
Now if you want to use a particular version of Java temporarily but do not want to make it the default version then run below
sdk use java <version name>Example: To use Java 9, run:
$ sdk use java 9.0.4-open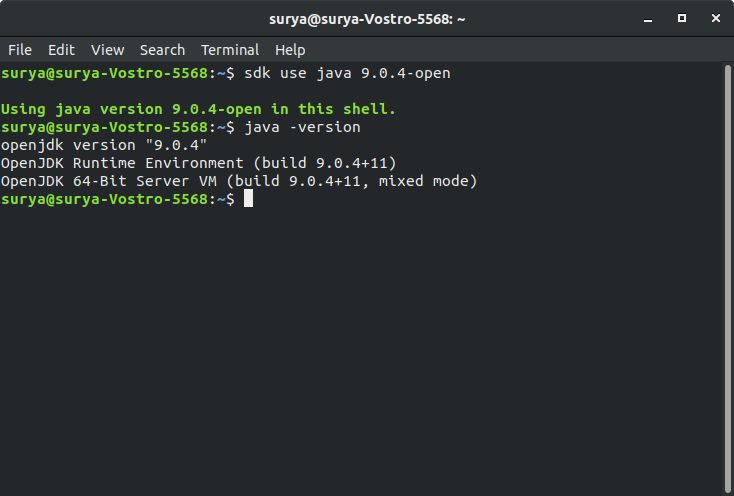
If you want to change the default Java version, run:
sdk default java <version name>Example: As shown above, in our case the default is set to Java 10. Let’s change it to Java 9.
$ sdk default java 9.0.4-open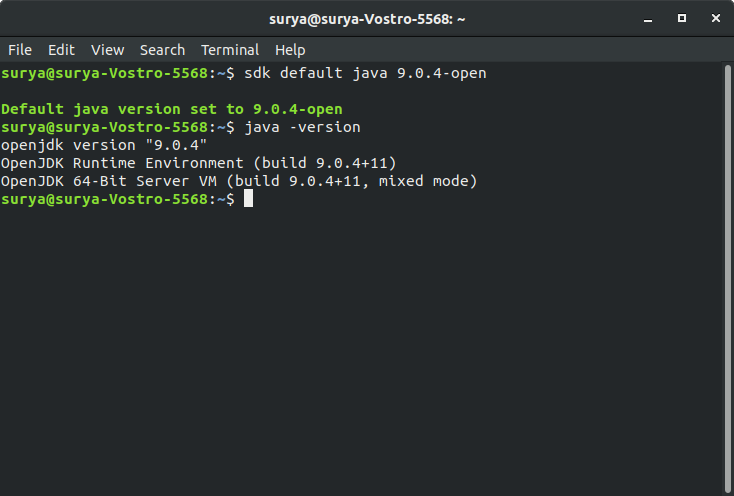
This can also be confirmed by sdk list java
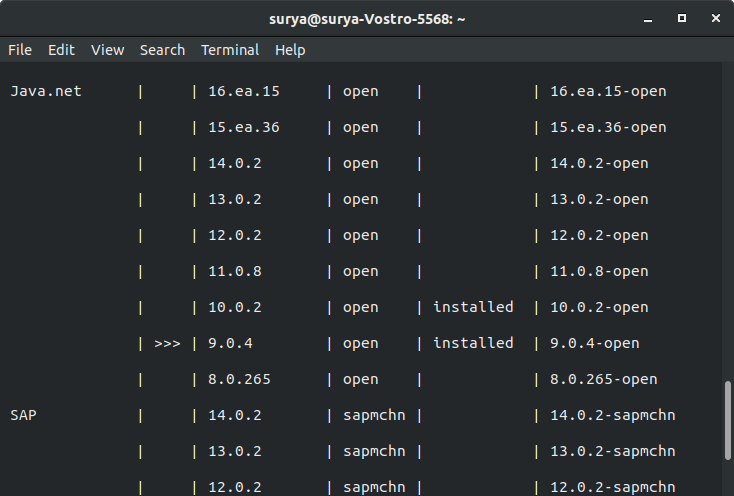
As it is visible >>> has moved from 10.0.2 to 9.0.4 indicating that Java 9 is currently the default version.
Uninstalling a Specific Version of Java
To uninstall a particular version of Java use sdk uninstall followed by version number
sdk uninstall <version name>Example: To uninstall Java 10, run:
$ sdk uninstall java 10.0.2-open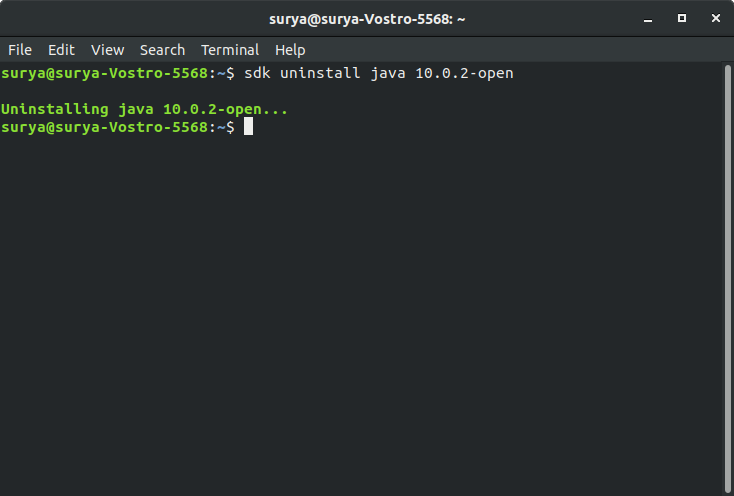
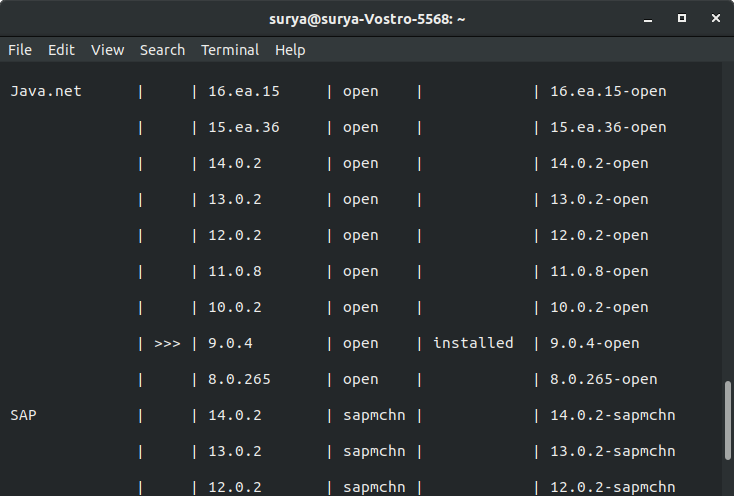
Now when you run sdk list java, you can see that Java 10.0.2 is uninstalled.
Reinstalling an Uninstalled Version
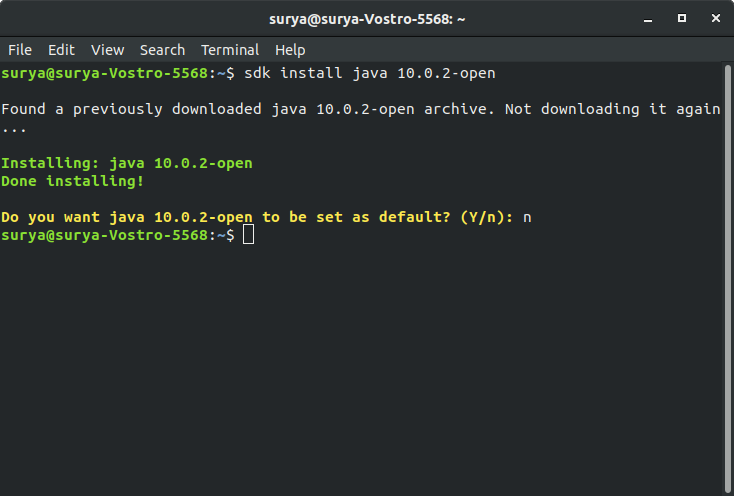
- If you try to install an uninstalled version e.g. 10.0.2 then just use the install command mentioned in the earlier part of the article. The difference is that, this time it won’t download anything as downloaded files are already present in SDKMan, it’ll just install it again.
Help us improve this content by editing this page on GitHub