Installing R and RStudio in Windows & Linux
R is a very popular and most interactive programming language and has been an important toolbox for Data Scientists and Business Analysts. To work and create projects on R, you just need to install two important tools– R and RStudio. Both of these software work in parallel to create various projects and Markdown Documents in R.
Installing R to a local computer consists of various easy steps. The steps for installation of R vary with different operating systems like Windows, Linux and MacOS. The official site for the installation cloud.r-project.org provides various pre-compiled binary versions and libraries for the above mentioned various operating systems. To install R, you can get the package either from the given official site or can use commands from the terminal or command prompt. In some Linux Distributions, R is installed by default, which you can easily verify by entering R in the console.
Installing R in Windows
There are some steps you need to follow to install R and RStudio. Let’s have a look at those steps.
- Firstly you have to download R setup by directly clicking on the link https://cloud.r-project.org OR https://cran.r-project.org. You will be directed to a page containing downloads for various operating systems.

- Click on “base” and then click on R for the first time, it will direct you to the page containing the latest version of R. Click on Download R 4.0.2 for Windows (This is the latest version as of this writing).

- Once the download is finished, run the setup file.
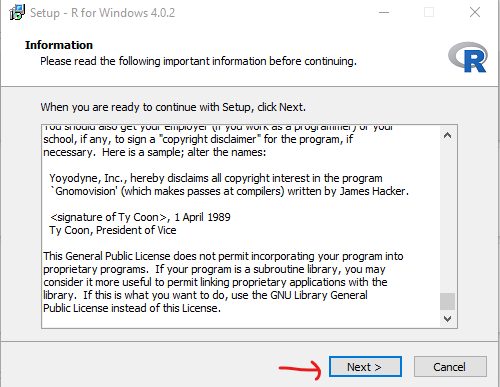
- License information will be displayed on the next screen. R uses GPL license. Click on Next.
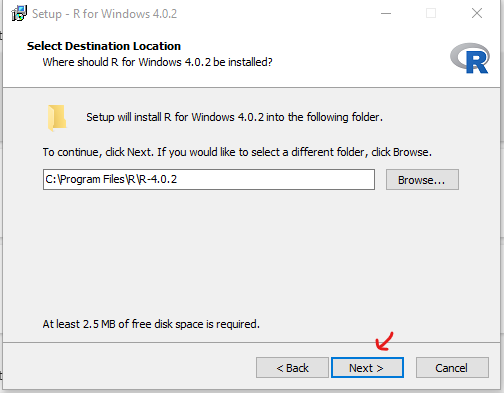
- Select the path where we want to download our R Software and proceed to Next.
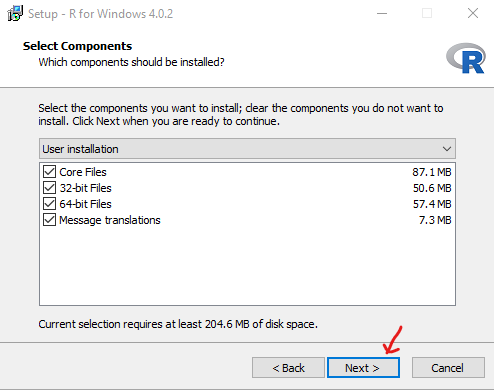
- Select all the components like 32 bit file, 64 bit file and core files which you want to install and then click on Next.
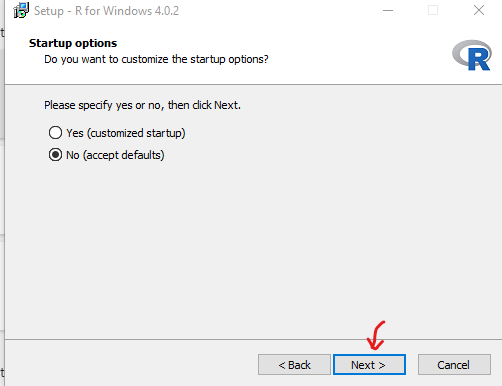
- In the next step, we have to select either customized startup or we go on with the default and proceed to Next.
- On clicking next, the installation of R in our system will get started in the designated path.
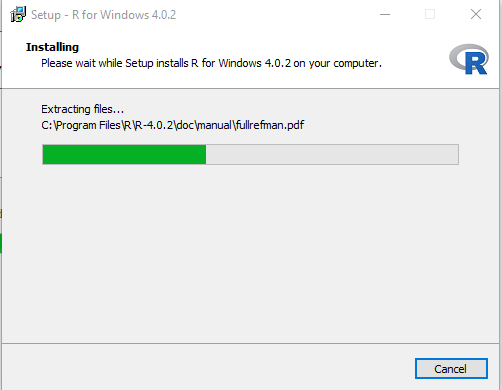
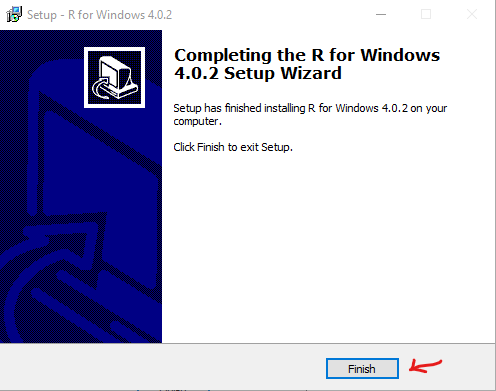
- At last, we will click on Finish to successfully install R in our system.
Installing RStudio IDE in Windows
- Download RStudio from the official website.
- Download the free version by clicking on Download RStudio.
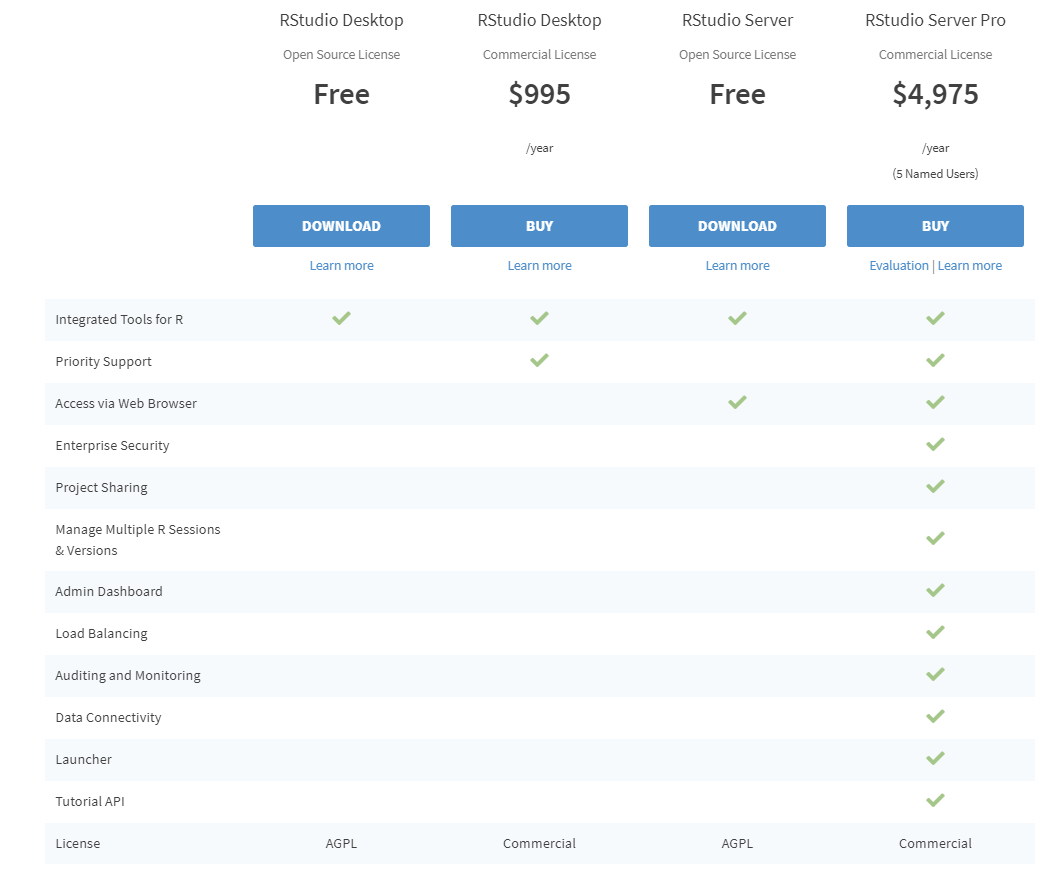
- In the next step, we will select the appropriate installer. When we select the installer, our downloading of RStudio will take place and setup will start.
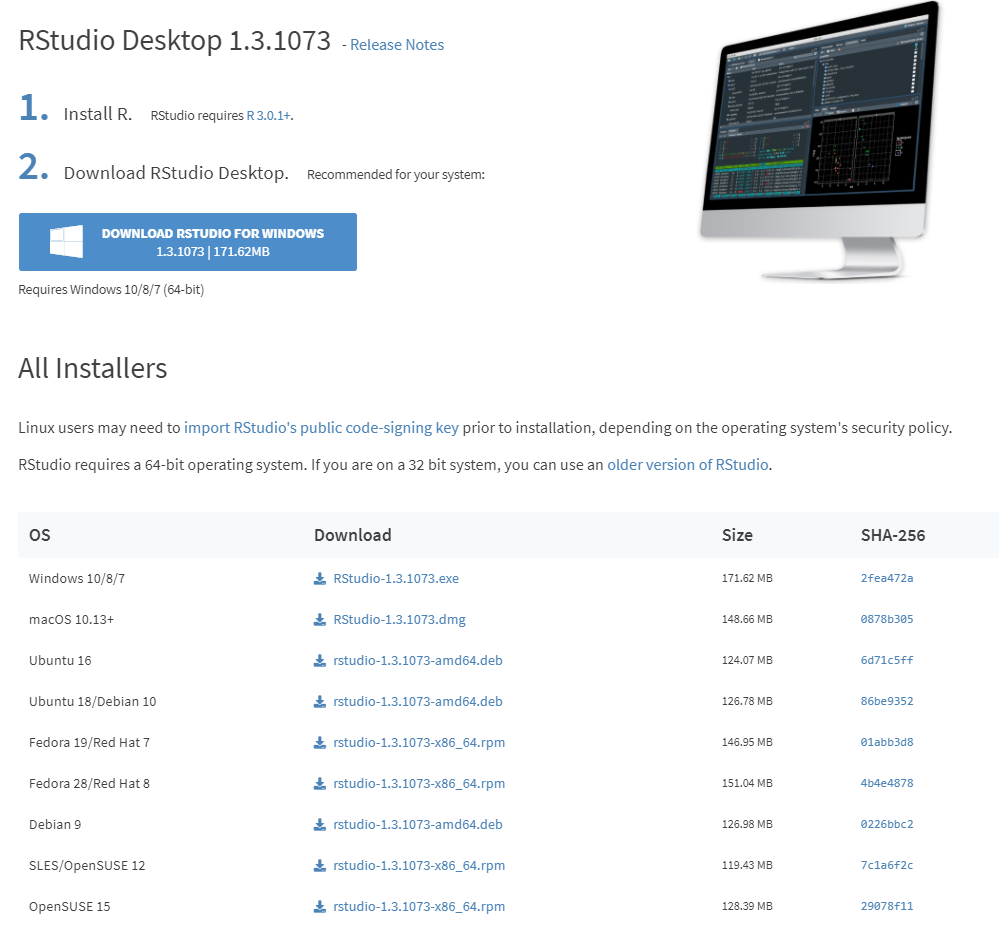
- Once the setup file is downloaded, run it and click on Next.
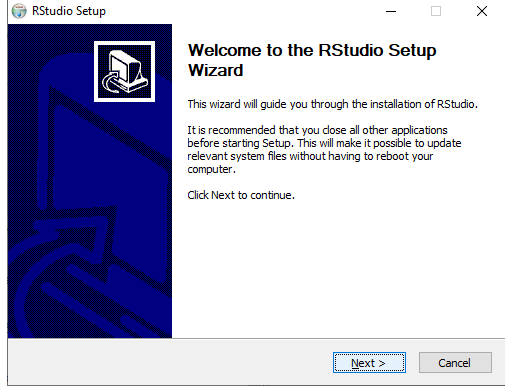
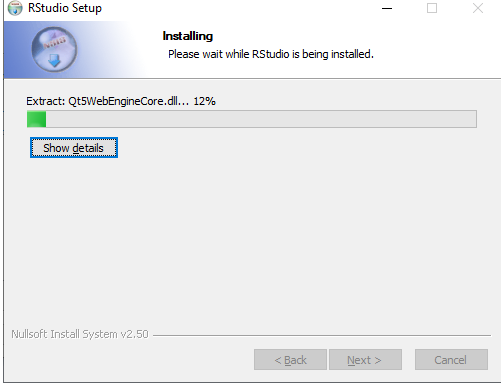
- Click on Install and proceed for extracting files and installing RStudio.
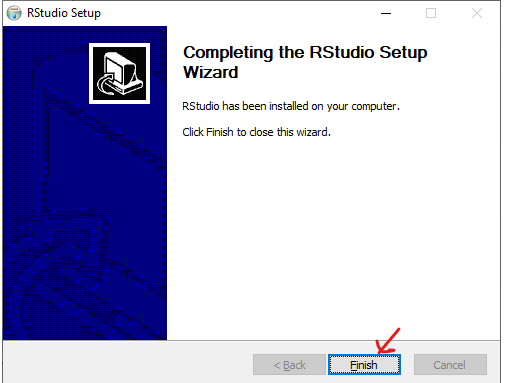
- Click on Finish at last.
- Open RStudio from the installed location or lookup in Start Screen.
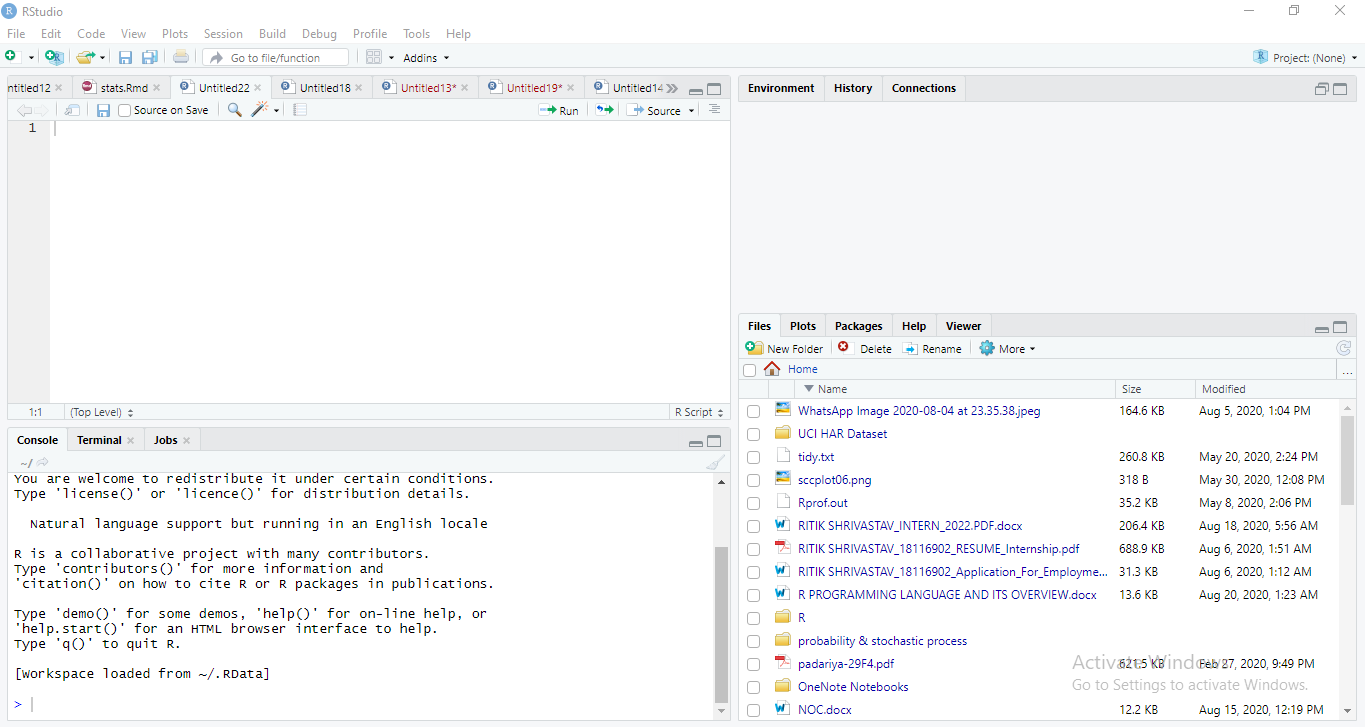
- Now as a demonstration, a sample query has been written in the R script (
File->New File->R Script). The result will appear in the console section below.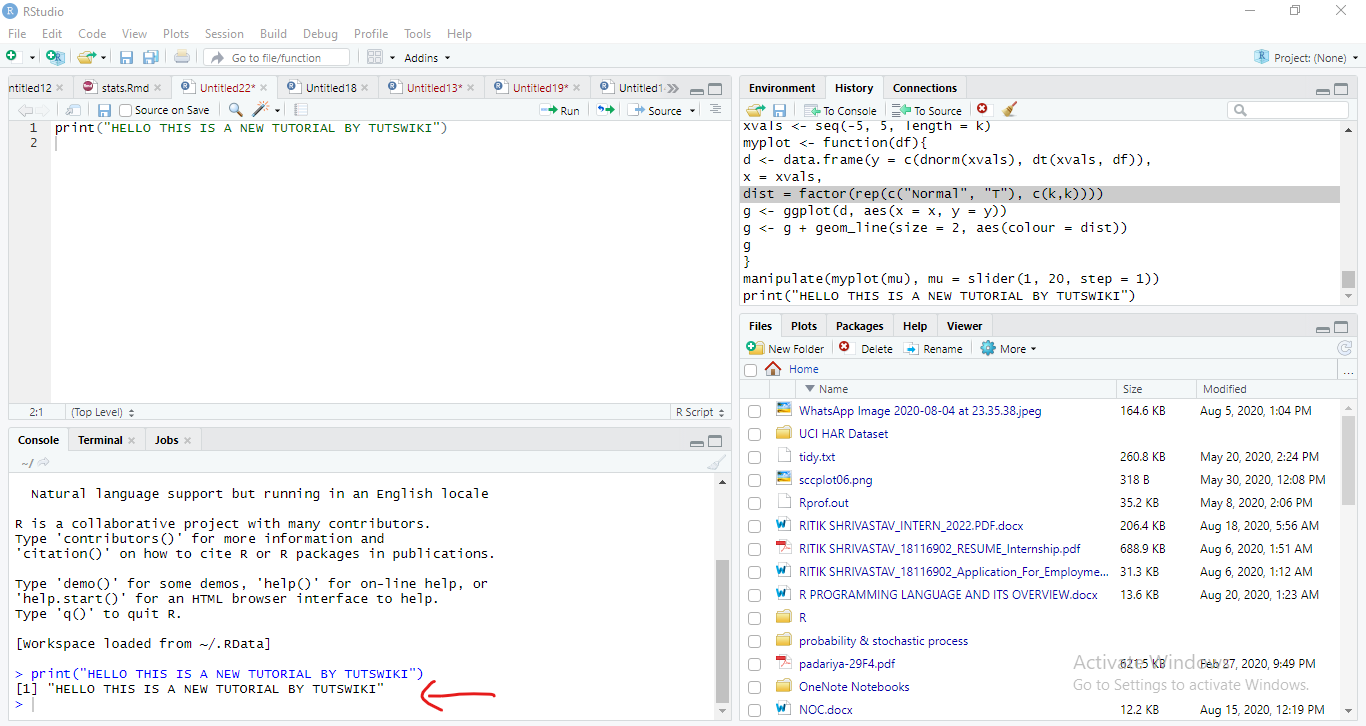
Installing R in Ubuntu 20.04/19.04/18.04/16.04
Let’s first update the packages
sudo apt update
sudo apt –y upgrade
Once that’s done, install r-base
sudo apt –y install r-base
Help us improve this content by editing this page on GitHub